Showing posts with label wood burner. Show all posts

Thursday, 6 February 2014

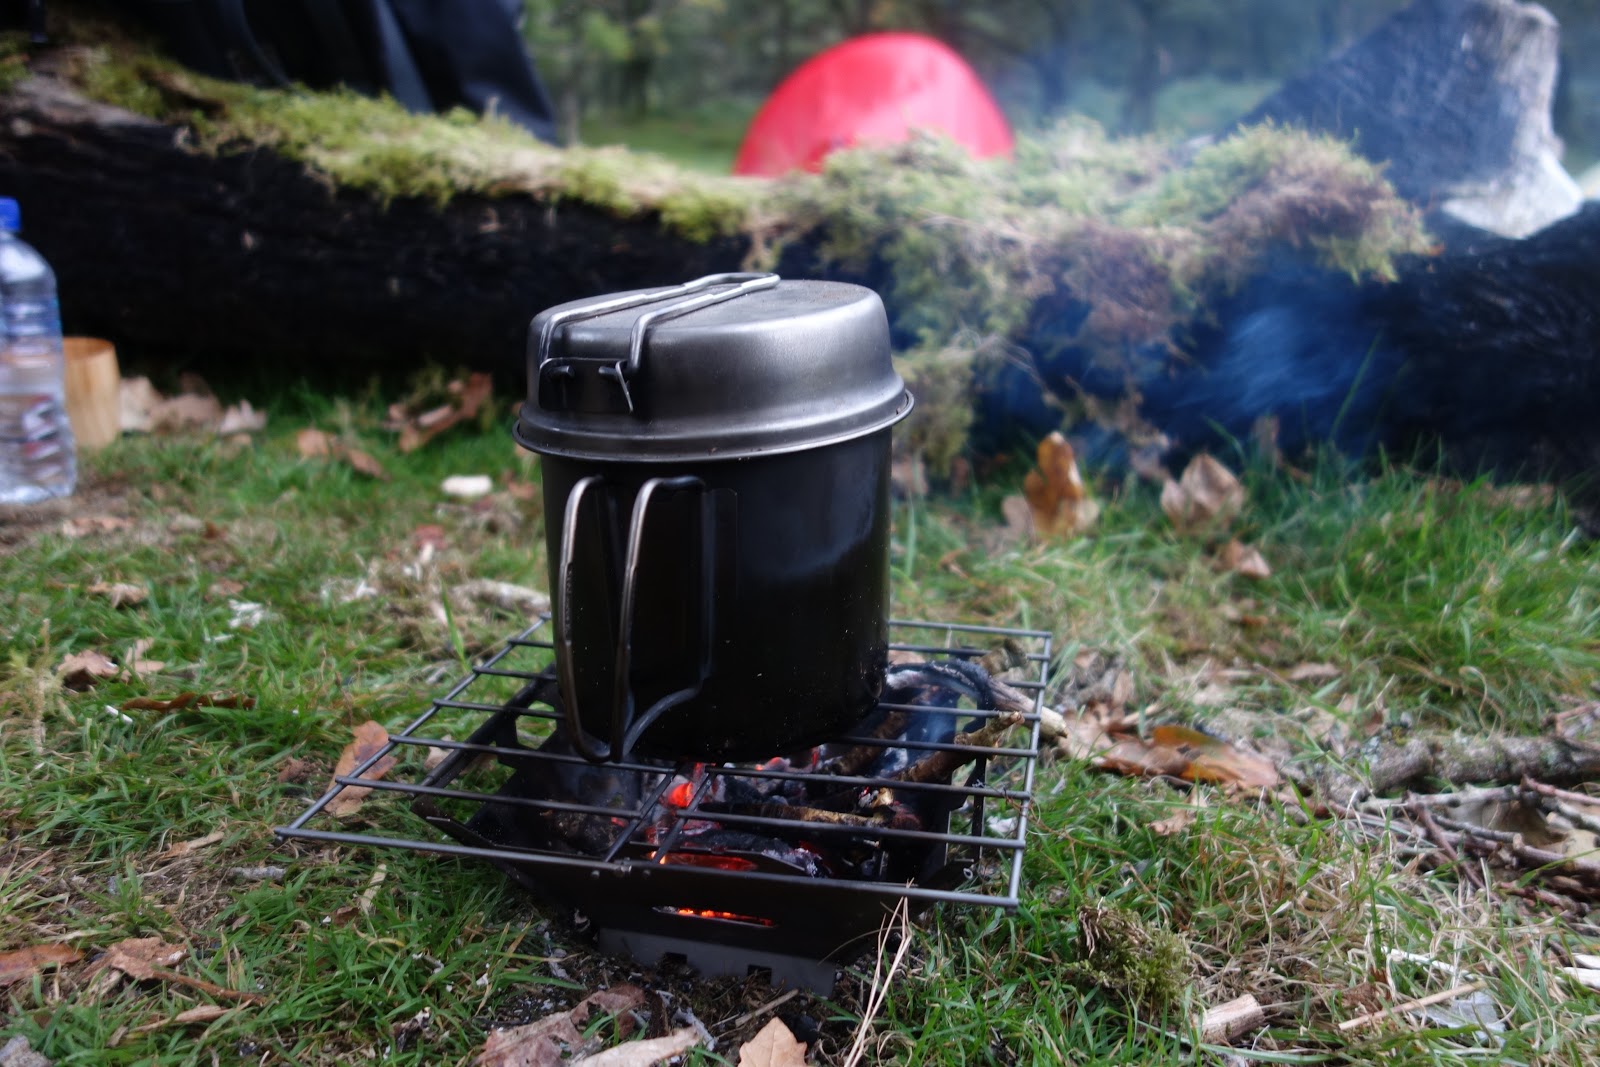
Gear we like: Titanium Fire box grill by Vargo

Vargo are well known for making titanium products and the fire box grill is one of their new products. I have not tested this myself but it looks pretty good for potential backpacking trips as the grill could be used for barbecuing as well as the usual saucepan use. The set-up looks pretty easy and the whole thing flat packs into a nylon sleeve making it easily transportable.


Tech Specs:

  • Grate size: 8 x 8 inches (205 x 205 mm)
  • Folded size: 8 x 4.25 (205 x 110 mm)
  • Weight: 5.8 oz. (194 grams) (Stainless Steel 310g)
  • Open Height: 3 inches (80 mm)
The only negative is the cost, however, it also comes in stainless steel.


Friday, 6 April 2012

Field test: Backcountry boiler


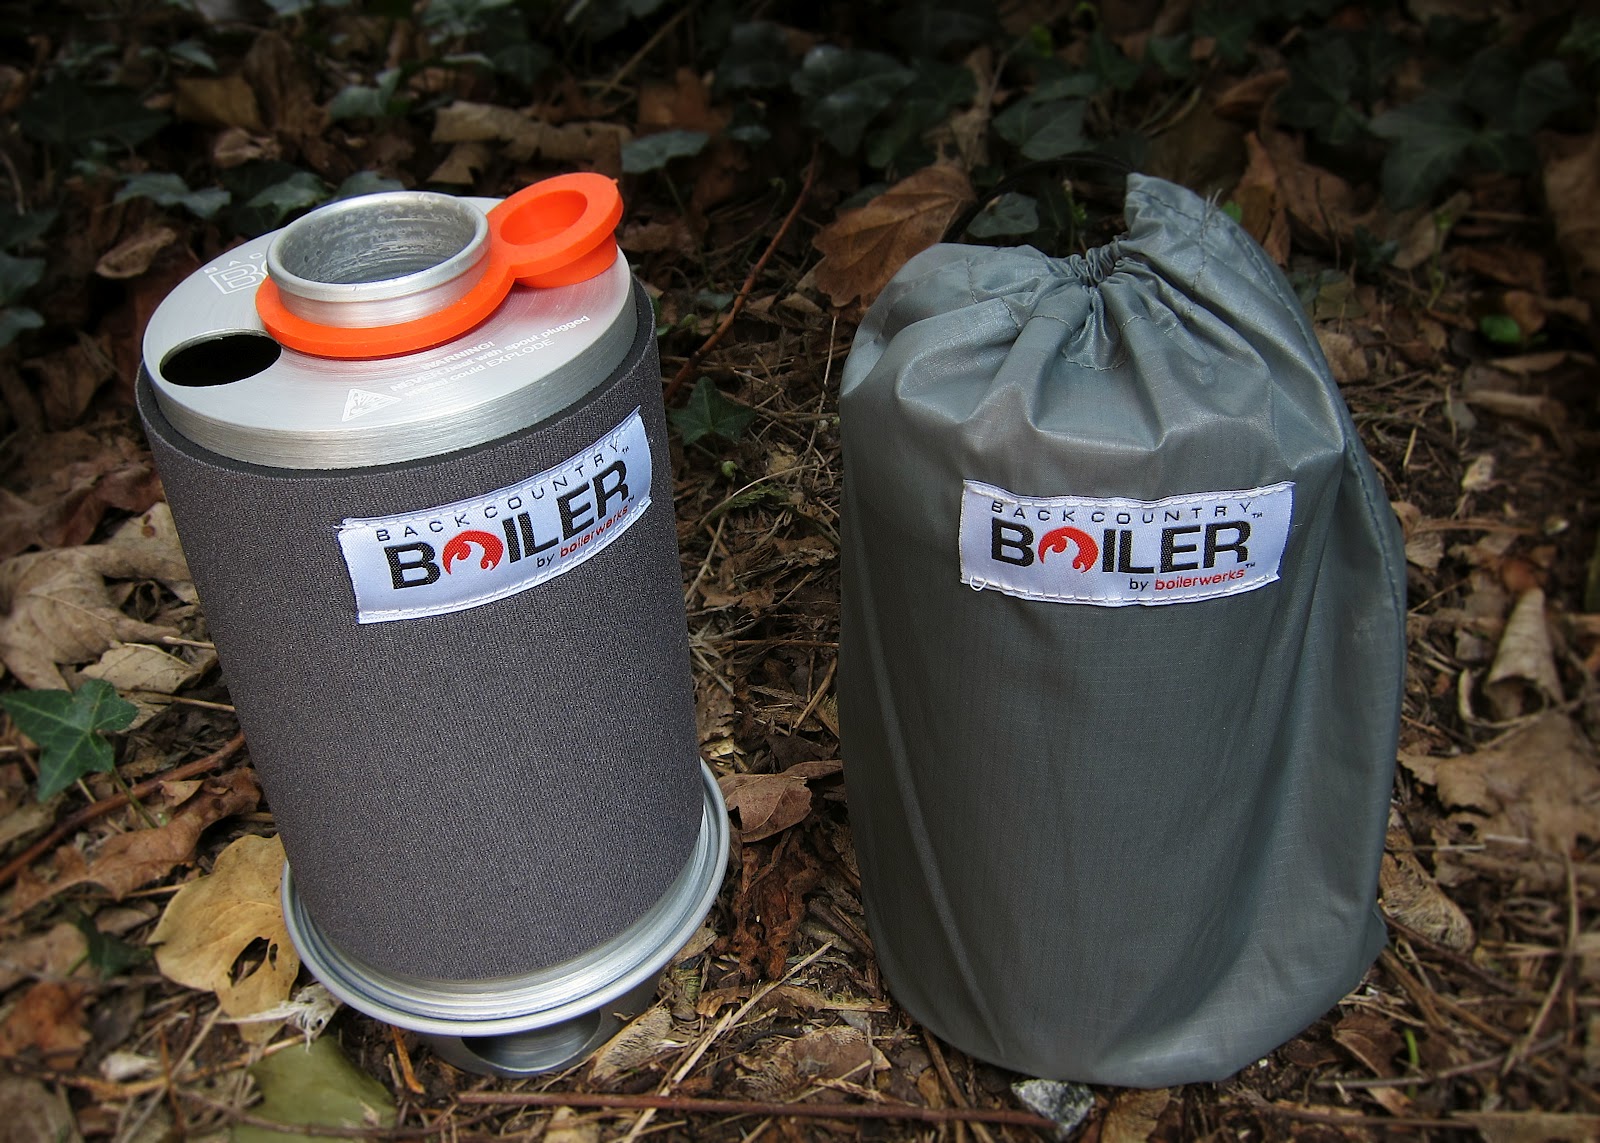
The backcountry boiler is made by boilerworks through the kickstarter website (www.kickstarter.com). I ordered mine quite a while ago and it has finally made its way across the Atlantic. For those of you that are familiar with chimney kettles, the backcountry boiler can be basically classed as a very lightweight modern version of the traditional kelly kettle (wood burning kettle). Chimney or fire kettles such as the these work on the principle of a double walled chimney to heat up a chamber of surrounding water. I reviewed another version of the chimney kettle 'the mkettle' a while back, but this version is like the Mercedes of chimney kettles. The main structure is kept very light by being made of hard anodized aluminium and weighs in at just over 220g (8oz.). One of the main advantages for using wood burning kettles like these instead of gas stoves when backbacking is that you obviously do not need to carry gas cannisters with you which cuts down of the weight carried. All you need to do is gather some combustible materials while on your trek.


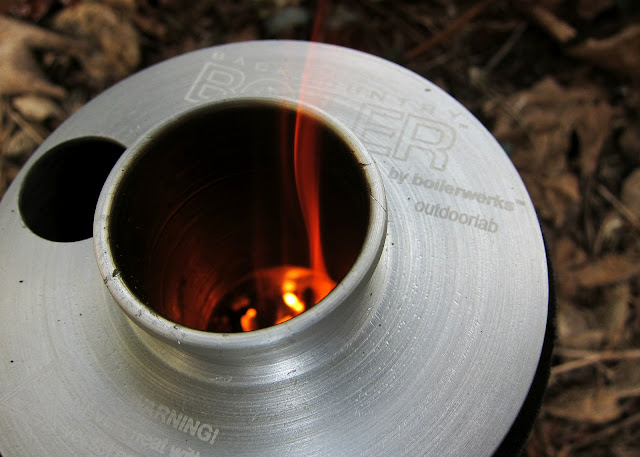
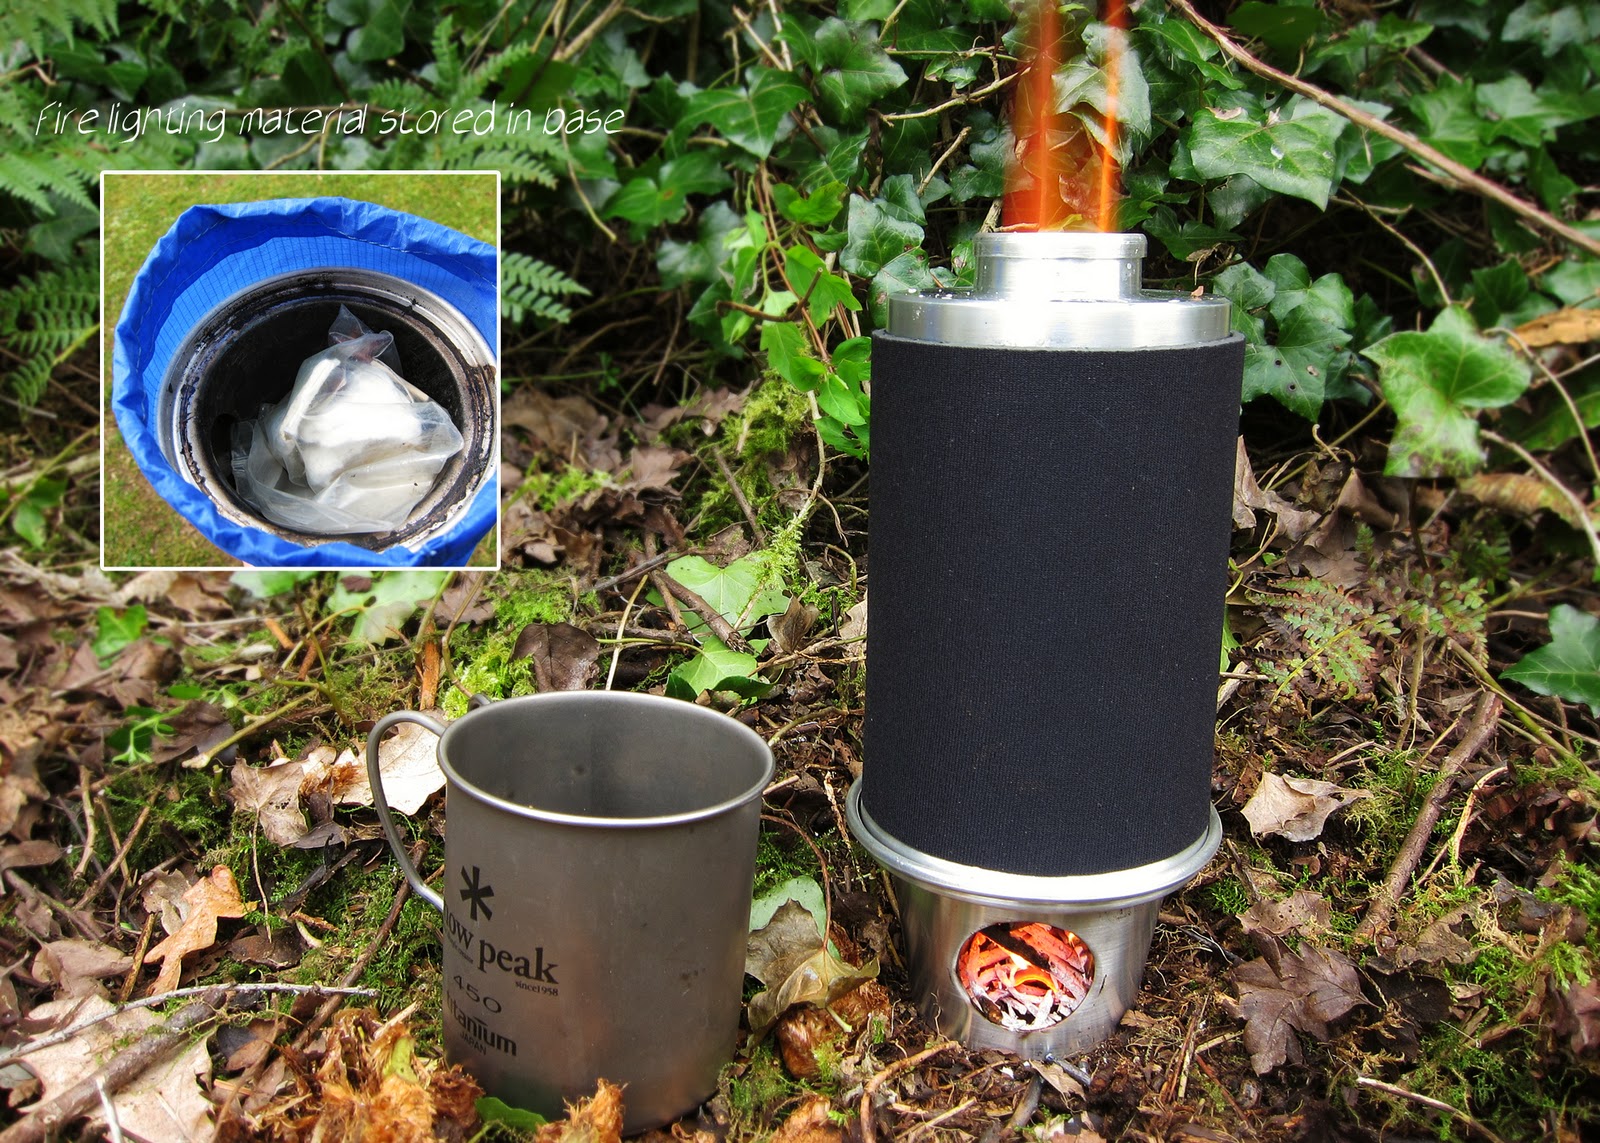
When using, fill the firebase with combustible materials (e.g twigs, small sticks, dry grass, pine cones) and then light a small amount of fuel with the inlet hole turned away from the wind. Once ignited you should turn the inlet into the wind and feed extra fuel through the chimney. You can blow into the inlet hole to increase oxygen if needed and continue to add fuel until water boiling point is achieved. Boiling point can be reached in around 5 minutes if the fuel is dry. The whole structure can become extremely hot when the boiler is in action but it can be easily handled due to the neoprene sleeve. Once the water is boiled remove the kettle from the base and let the fire naturally extinguish itself. The backcountry boiler also comes with a silicone stopper for carrying water from place to place.


Backcountry boiler specs:
Composition: Hard anodized aluminium

Weight: 220g (8 oz)
Capacity: 500 ml (16 oz) About 1 Pint
Dimensions: 19cm (7 1/4”) Tall by 10cm (4”) Diameter
Pack: silicon-impregnated nylon stuff sack

Friday, 25 March 2011

Field test: mKettle (mini wood burning kettle)

Most of us are familiar with chimney or fire kettles such as the Kelly Kettle that work on the principle of a double walled chimney to heat up a chamber of surrounding water. However, these kettles tended to be quite bulky and heavy and less than ideal for lightweight backpacking.


Recently a couple of lightweight versions of this old design have come on to the market, the more readily available 'mKettle' and the 'Backcountry Boiler' which is available through advanced ordering via http://www.theboilerwerks.com/about/ . These new wood burning kettles are of a very similar design with the Backcountry Boiler coming in lighter at around 230g in weight and the mKettle at around 370g. When using, fill the firebase with combustible materials (e.g twigs, small sticks, dry grass, pine cones) and then place the kettle on top of the firebase. The mKettle can boil approximately a pint of water (500ml) in around 5 to 8 minutes depending on conditions and the source and dryness of the kindling. The mKettle is very robust and light enough for backpacking and is ideal for making hot drinks and rehydrating backpacking meals, it kind of looks like a wood burning 'jetboil'. It also comes with its own stuffsack and a stopper to contain carried water. When stored in the stuffsack the firebase fits inverted into the kettle allowing you to store your firelighting material. Here are the specs:

Composition: aluminium
Weight: 370g (13 oz)
Capacity: 530 ml (18 oz) About 1 Pint
Dimensions: 17cm (7”) Tall by 10cm (4”) Diameter
Pack: Fitted Rip Stop Nylon Carry Bag with D-Rings


Monday, 22 March 2010

Homemade bushbuddy ultra (wood burning camping stove)

I have had a bushbuddy ultra for a couple of years now, but if you fancy making a really cheap one from a couple of cans, this works just as well (though not as elegant I might add). The principle is to create a double skin allowing secondary combustion through the top vents. Ingredients: one big can of tomato soup (800g) and one smaller can of sweet corn to create the double chamber and inner firebox. 


You will need to do some drilling to make the holes in the cans similar to the bottom photo before you fit the smaller can into the larger one. This should be a good fit, however, if there are any gaps between the two cans you can always do a bit of welding to form a really tight seal. You will also need to make a stand for the pot, you can make this by roughly cutting another can (about 1/4 of the can in length) so it can freely fit on the main cans. Cut a U shape into this can, so you can feed fuel into the main chamber once the fire is lit and the pot is sitting on top.Once fully operational it should take about 6-8 mins to boil 1 pint.